|
|
Let's talk about GearUse the right gear for the right purpose...
|

|
|
Let's talk about GearUse the right gear for the right purpose...
|
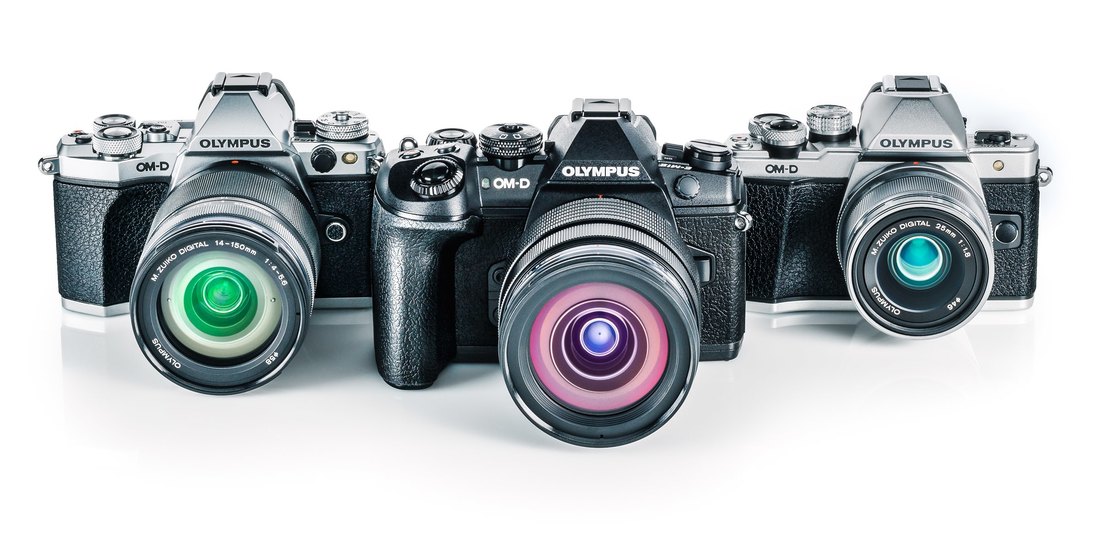
My recent switch to Olympus Micro Four Thirds for all of my photography required me to start over. I had to buy everything, brand new. I started by purchasing all the items I’d need to do serious bird photography. (See my presentation on bird photography gear here for a rundown.) Eventually, I decided to just buy pretty much everything Olympus had to offer, including an Olympus PEN-F, all the Olympus PRO lenses, and most of the other Olympus lenses, along with a number of Olympus accessories. After it was all said and done, picking up literally every single piece of Olympus gear that I could think of, from flashes to lenses I will only use once in a while (like the macro and portrait lenses,) all the accessories, three bodies, etc.. the total value was just under $20,000.00. Does that sound like a large sum? You bet. But hold on. You need to evaluate this the way I did. As a bird photographer, I am used to even bigger numbers. I had tons of Canon gear. In fact, when I decided to switch and started selling off the Canon stuff, I was shocked at how much all that gear was worth. My Canon EF 600mm f/4L IS II USM Lens and my Canon EF 800mm f/5.6L IS USM Lens alone cost around $4000 more (in total) to buy than ALL the Olympus camera bodies and lenses I would ever need combined. Throw in the cost of a couple of Canon EOS-1D X Mark II camera bodies at $6k each and you start to get the picture (pun intended.) When I hear people say they can’t afford to switch because they have so much money tied up in Brand XXXX gear, I have to admit that I am perplexed. Yes you do take a hit when you sell used gear, because it’s used. If you replace it with used gear, you can save some of that money. I spent less than $20k to get EVERYTHING Olympus makes - and that was brand new. I could have probably saved between $4000 and $5000 if I bought it all used. The reason I switched to Olympus had nothing to do with money. For me it was all about the size and weight advantages. But seriously, the money advantage isn’t bad either. The switching costs will be less impactful for a person who’s just stepping up to pro-quality gear. They either don’t have a lot of old gear to sell first or maybe are starting from scratch. But it’s not impossible for someone heavily invested in another brand to switch. After selling just my Canon 800mm lens I had enough money to buy two Olympus flagship bodies, a battery grip and the Olympus 300mm f/4 lens with teleconverter. I even had some change! I could have stopped there and been happy. But then again, you know me…. stopping isn’t my thing :) I do want to add a caveat. I am a professional and make my living with my camera gear. As an amateur you have no need for most of the things I buy, unless you are an aspiring bird photographer :) These numbers scale in the same way to just one single camera and lens. In any event....Enjoy what you have. But if you want to switch, don’t let the money stop you. P.S. The complete current list of all my Olympus camera gear appears below. Camera Bodies Olympus OM-D E-M1 MK II x 2 Olympus Pen-F Olympus Stylus Tough TG-Tracker Action Camera Prime Lenses Olympus M.Zuiko Digital ED 8mm f/1.8 Fisheye PRO Olympus M.Zuiko Digital ED 12 f/2 Olympus M.Zuiko Digital ED 17mm f/1.2 PRO Lens Olympus M.Zuiko Digital ED 25mm f/1.2 PRO Lens Olympus M.Zuko 30mm f/3.5 Macro Lens Olympus M ED 45mm F/1.2 PRO Lens Olympus M ED 60mm F/2.8 Macro Lens Olympus M ED 75mm F/1.8 Lens Olympus M. Zuiko Digital ED 300mm f/4.0 Pro Lens Olympus MC 14 1.4X TC X2 Zoom Lenses Olympus M.Zuiko Digital ED 7-14mm f/2.8 Pro Lens Olympus M.Zuiko Digital ED 12-40mm f/2.8 PRO Lens Olympus M.Zuiko Digital ED 12-100mm f/4.0 Pro Lens Olympus M.Zuiko Digital ED 40-150 f/2.8 Pro Lens Accessories Olympus LH-48 Lens Hood for M.ZUIKO Digital ED 12mm f/2 Lens Olympus LH-40B Lens Hood for M.Zuiko Digital 45mm f/1.8 Lens Olympus FL-900R Flash Olympus LH-61F Hood M.75 MM Lens Olympus FL-LM3 (dust & splash-proof flash) x3 Olympus RM-UC1 Remote Release Olympus EE-1 Dot Sight Olympus MAL-1 Macro Arm Light Olympus LH-49 Hood 60mm Lens Olympus HLD-9 OM-D Battery Grip Olympus BLH-1 Spare Battery
0 Comments
7/26/2017 1 Comment Why Use A Lens Hood?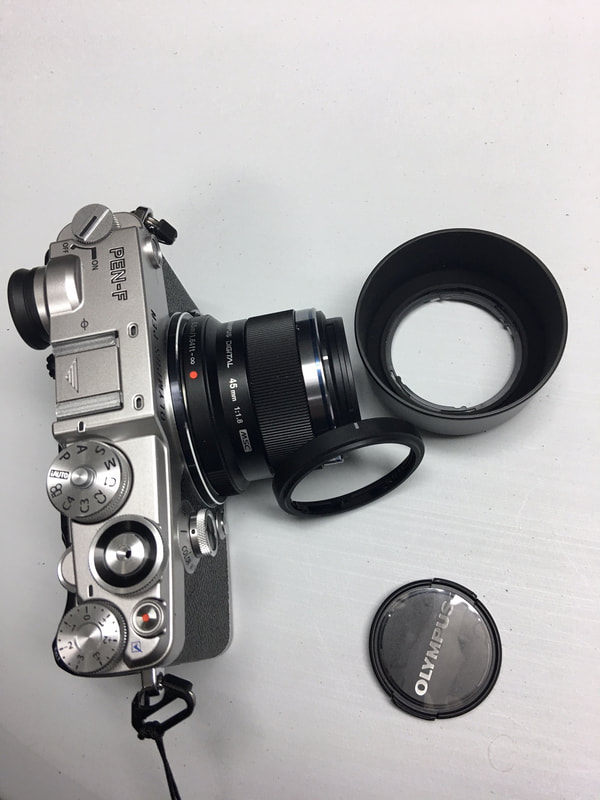 I may be in the minority but I never take my gear out without a lens hood mounted to my lens. Some of you hate them or think they are unnecessary. I disagree. I find them very valuable and here’s why. 1. The lens hood shades the front of your lens to prevent unwanted flare or a washed out image. It stops the stray light from bouncing around the lens barrel. (Even indoors or at night there can be stray light that causes flare.) 2. It offers damage protection in case you bump the front of your lens into something that could damage it. I like to think of it as a bumper. 3. If you need to shoot fast, you can often rely on the lens hood to protect your lens while the lens cap is off. I always try to use the manufacturer’s lens hoods because they are designed to reduce shade or shadow or vignetting. I will make exceptions and go with old-fashioned collapsible rubber lens hoods if I don’t like the manufacturer’s hood. I like metal lens hoods but they are hard to find. If you’re an Olympus user here’s a heads up. Some of the Olympus lenses have a cosmetic cover that installs over the bayonet mount on the front of the lens. This needs to be rotated off the lens for some Olympus lens hoods to attach to the lens. 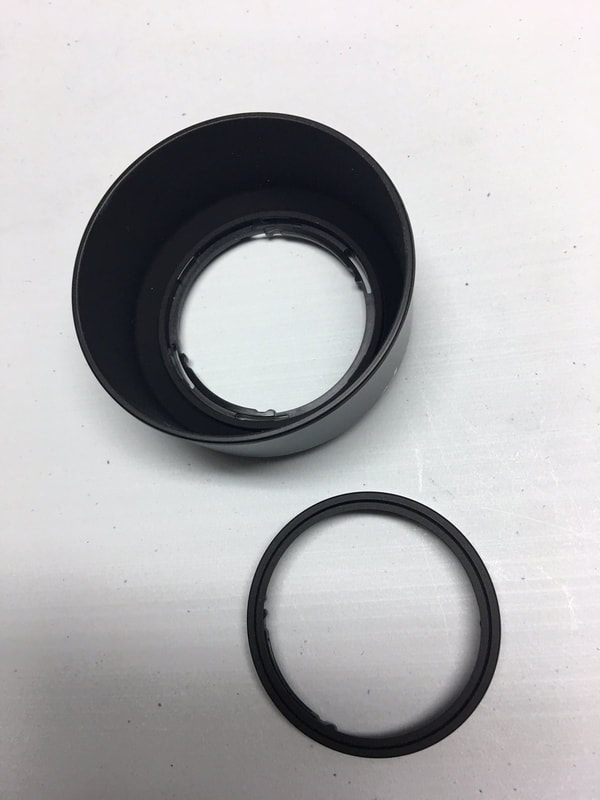 7/25/2017 0 Comments More Gear show #4 is now liveYou can listen to the More Gear Show via RSS using any podcatcher - Show link - http://www.photopodcasts.com/podcasts/more-gear-show-4-ppn-july-23rd-2017 And here is the raw feed from our provider - photopodcasts.libsyn.com/rss  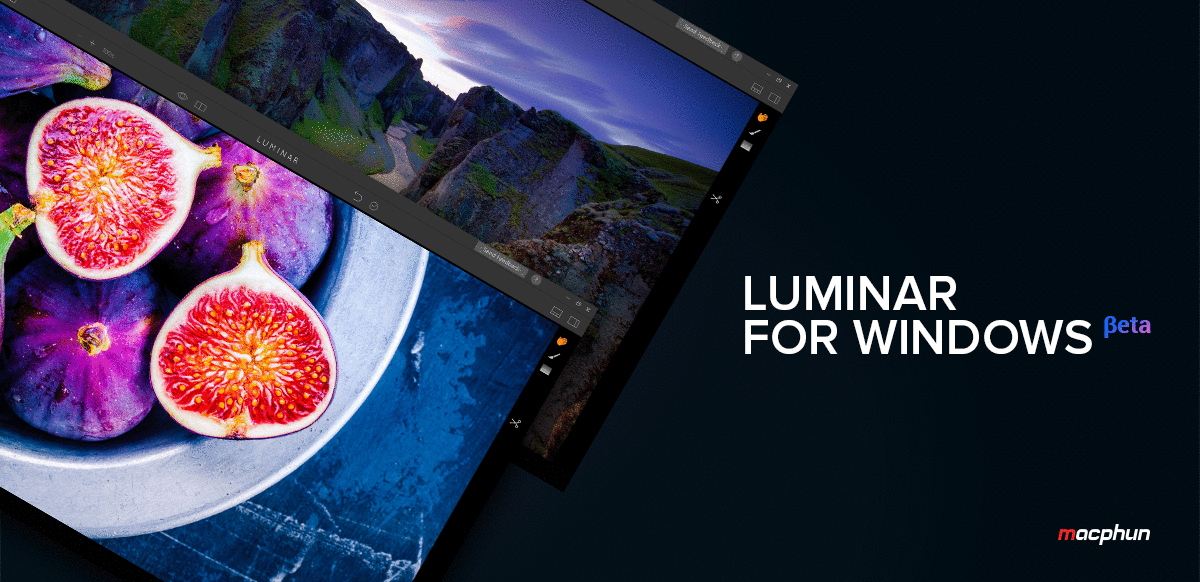 NOTE: Always use the code PHOTOPLUGINS when purchasing Macphun products to get the best price!
For me, one of the main reasons to stick with Mac products was the ability to run MacPhun software. Soon that won’t be required. MacPhun announced the BETA for Luminar for Windows today. You can get info here - https://macphun.evyy.net/c/420516/185399/3255 Here are a few things to note right off that bat… *Beta version is not the final version and features are subject to change *Current beta version does not include all of the features/tools that the final release version will *Final version will be released late 2017 It’s important to keep in mind this is an open beta for a reason. Macphun wants your feedback. What do you like? What needs to be added? There are two webinars that I strongly recommend you thinking about watching. Live Luminar for Windows Webinar 1: Luminar for Windows - Fun with the New Public Beta Date: Saturday, July 15 Time: 9am PST, 12pm EST Attend this webinar for a first look at the Public Beta of Luminar for Windows, Macphun's first photo app for the PC platform. Presented by Kevin La Rue of Macphun, the demo will be accompanied by a Q&A. Registration Link: https://attendee.gotowebinar.com/register/8360238200797752835 Live Luminar for Windows Webinar 2: The Power of Luminar for Windows Public Beta Date: Wednesday, July 19 Time: 11am PST, 2pm EST Learn how the new Luminar for Windows Public Beta release can dramatically enhance your photo making, with power, ease and joy. Hosted by Kevin La Rue of Macphun, and featuring Pro shooter and mentor A.D. Wheeler, the demo will be accompanied by a Q&A. Registration Link here: https://attendee.gotowebinar.com/register/1822667406402102019 If you're a Windows user please check this out and leave any comments you have below. Thanks. 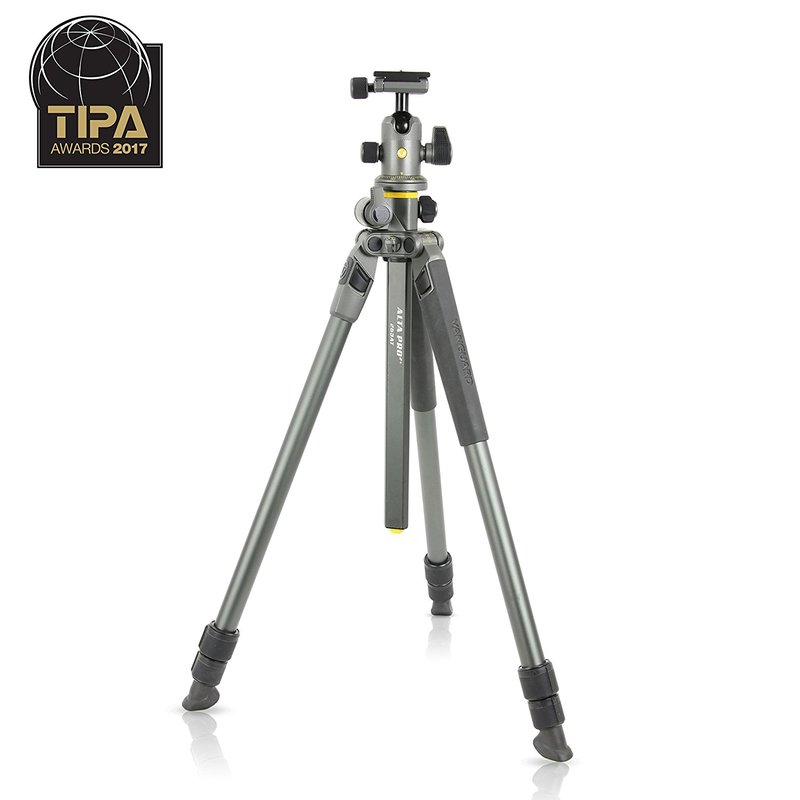 Vanguard makes good tripods. That makes this easy. They fill a particular niche in the entry-level to intermediate-priced tripod class. Their latest effort is the Vanguard Alta Pro 2+ 263AB 100 Tripod Basic Features: *BH-100 Ball Head - 360° panning, friction control, 2 bubble levels, and quick release Arca-type system *Unique Perspective - MACC (Multi-Angle Center Column) for limitless shooting angles and Never waver - firm hexagonal center column *3 section legs with 4 position angles - 20°, 40°, 60°, 80° and Rock solid positioning - unique “locked” to “unlocked” twist-lock system *canopy suspension loop for counterbalance weight and Alta Link - 3/8 thread bonus connection for any accessory: reflector, articulated or flexible arms, etc. *26mm, 3 section aluminum legs. Folded height: 29". Extended height: 68.2", Weight: 5 pounds. Max. load capacity: 15.4 pounds At $229.99 this is a bargain-priced tripod (yes I know - many of you think that’s expensive but in today’s world where $1200+ tripods abound - not really) that delivers good value for the money. Note that it is aluminum. That means it is heavier than most of the carbon-fibre tripods in this class and presumably the aluminum structure is what keeps the price down. (Good carbon fiber is expensive.) This tripod uses simple and intuitive “twist and lock” positioning at any angle of 15° steps. The quarter-turn twist locks seem very well made and while this can be a failure point in some tripods, I don’t think that will be the case here. And inn case you're wondering, the moving center column feature is not a gimmick. It allows this tripod to be used for macro, product, low-angle work as well as traditional tripod work. I do have some concerns that the tripod could very easily be overloaded when this feature is employed so for that reason my recommendation to buy it will come with one big caveat. Do not believe the 15.4 pound carrying capacity. My general rule of thumb is to halve that figure (from any tripod maker) and you’ll be in the ballpark. Here I am going to say cut that figure by 60% if you plan to use the center column for off axis work. Mirrorless shooters should be fine with this setup. If I were using a DSLR I might be tempted to go up one step in the Vanguard product line to stay affordable, yet a tad more sturdy. As with all the Vanguard products I have tested, this one offers superb build quality and great design. It has some nice features that round out its usefulness and these are the fitted bubble level and dedicated suspension loop to ensure perfect position and additional stability by hanging counterweight or bags; non-slip, all-weather TPU grips on 2 legs; angled rubber feet (You can buy the ALTA SF spiked feet if you need them), and a tripod carrying bag bag. The ALTA BH-100 bullhead isn’t going to compete with something from Really Right Stuff or Indoro, but at this price point it too offers nice features like durable aircraft aluminum housing, easy-to-grip large lever lock, ergonomic friction control, precision lock, independent panning lock, two bubble levels for precise 90° angle in just one second & accurate 360° panoramic photography or videography adjustments, and universal Arca-type quick release system. CONCLUSION You can never have too many tripods. For those of you starting out and looking at your first tripod (or maybe a backup tripod) and who use lighter-weight gear (mirrorless, Micro-Four-Thirds, etc.) this is a very solid choice. I especially like the features you get for this price and think you could easily spend more for less. Remember my HIGHLY RECOMMENDED conclusion comes with the caveat that this tripod shouldn’t be counted on to bear much more than six or seven pounds when you extend the center column off axis.
|
 RSS Feed